Are you on the hunt for a simple yet scrumptious breakfast recipe to kickstart your mornings? As a mom, I’m always looking for nutritious, fun, easy and delicious options for breakfast. Look no further! These 3-ingredient banana waffles are the perfect solution for busy mornings, lazy Saturdays, or whenever you’re craving a delightful and healthy meal.

Photo Credit: Ashwin Vaswani

With just a handful of basic ingredients, a waffle maker, and a little enthusiasm, you’ll be savoring the goodness of homemade waffles in no time. Plus, with limited ingredients and prep, there’s less to clean up, leaving you more time and less work.

Why Choose Homemade Banana Waffles?
We all love a good waffle, but the store-bought varieties can often be loaded with preservatives and excess sugar. This homemade recipe for 3 ingredient banana waffles, on the other hand, focuses on simple ingredients to provide a nourishing and delicious breakfast.
By using overripe bananas, you’re not only reducing food waste but also enhancing the natural sweetness of the waffles, eliminating the need for added sweeteners.
Plus, kids and adults alike love the mild sweetness and fluffy texture of these simple, yet tasty waffles!
With its effortless prep, quick cleanup, and wholesome ingredients, this recipe is the ultimate family-friendly cooking experience.
When kids help make waffles, they’re picking up new skills that go way beyond breakfast. Measuring and mixing give them a hands-on learning experience, all while having a blast with mom and dad. And oh, the sizzle of the waffle iron!
Their eyes light up hearing their creation come to life. It’s not just tasty—it’s a triumph. This is more than cooking; it’s memory-making at its best.
If you are looking for more family bonding activities, check out this article for additional Family Activities!
Easy 3-Ingredient Healthy Banana Waffles Recipe
Course: BreakfastCuisine: AmericanDifficulty: Easy4
servings10
minutes10
minutesIngredients
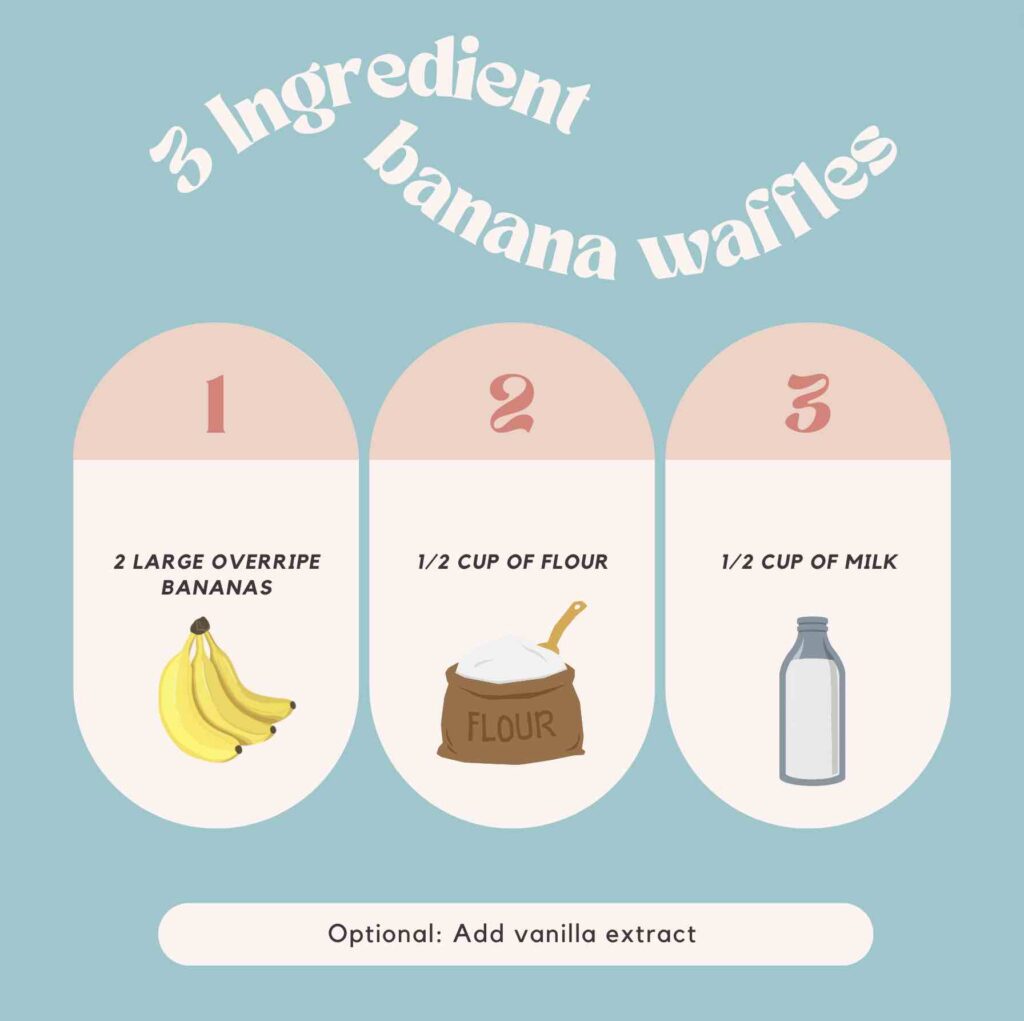
2 large overripe bananas
1/2 cup coconut flour
1/4 cup milk* (see below for milk variations)
Optional: Add Vanilla Extract: To enhance the banana flavor, stir in a teaspoon of vanilla extract. This simple addition will elevate the taste of your waffles.
Directions
- Prepare Your Waffle Iron: Preheat your waffle maker according to its instructions. A well-heated waffle iron ensures golden brown and crispy waffles.
- Mash the Bananas: In a large mixing bowl, mash the overripe bananas until you achieve a smooth and lump-free consistency.
- Make the Waffle Batter: Gently fold in 1/2 cup of flour and 1/2 cup of milk into the mashed bananas. Ensure that it is well incorporated to create a smooth batter. A food processor or high-speed blender works great for this.
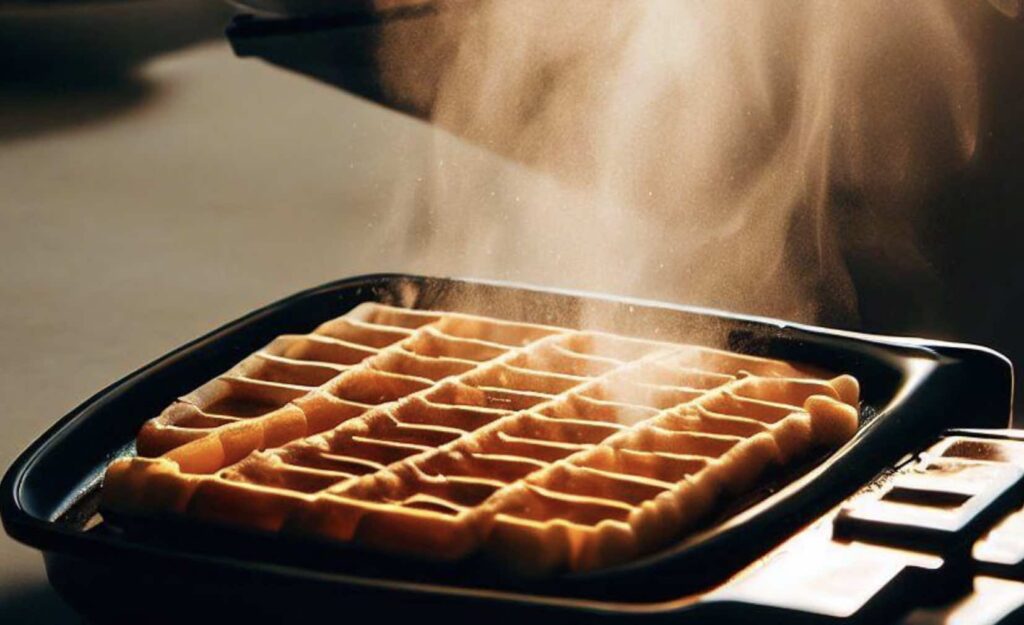
- Cook the Waffles: Lightly grease the waffle iron with cooking spray or a small amount of coconut oil. Pour the batter onto the hot waffle iron and close the lid. Allow the waffles to cook until they’re golden brown and slightly crispy.
- Transfer and Serve: Carefully remove the cooked waffles from the iron using a fork or tongs. Place them on a plate lined with parchment paper to prevent sticking. Now, the fun part – add your favorite toppings!
Notes
- Fresh fruit like berries, sliced peaches, and even cinnamon apple cubes are great options! Or, try shredded coconut, chocolate chips, and a drizzle of maple syrup. And, what kid doesn’t like and PB&J option by adding a teaspoon of strawberry jam or grape jelly along with a dollop of peanut butter.
- If you find yourself with leftover waffles, allow them to cool completely before storing them in an airtight container or freezer bag. This way, you can enjoy homemade waffles even on your busiest mornings. To reheat, simply pop them in the toaster or oven until they’re warm and crisp.
- You may swap out the milk for an egg.
Optional Add-Ins and Variations:
Flour variations:
For an even healthier option, consider using oat flour, coconut flour, or almond flour instead of traditional all-purpose or whole wheat flour. These alternatives add a nutrient boost and a unique flavor to your waffles.
Milk variations:
If you’re following a plant-based diet, replace cow’s milk with almond milk, oat milk, or any other plant-based milk of your choice.
class="wp-block-heading has-ast-global-color-5-color has-ast-global-color-0-background-color has-text-color has-background" style="text-transform:uppercase">Protein Boost:
For an added protein kick, mix in a scoop of your favorite protein powder into the batter. This is a fantastic option for those looking to refuel after a workout.
Banana Pancake Variation:
Transform this recipe into 3-ingredient pancakes by cooking on a well-heated pancake griddle instead of a waffle iron.
Flavor Combinations:
| Flavor Combination | Ingredients |
|---|---|
| Vanilla and Pumpkin Spice | Bananas, eggs, coconut flour, vanilla extract, pumpkin pie spice |
| Chocolate Chip | Bananas, eggs, coconut flour, chocolate chips, chocolate sauce |
| Cinnamon Sugar | Bananas, eggs, coconut flour, cinnamon sugar, whipped cream, maple syrup |
| Strawberry and Cream | Bananas, eggs, coconut flour, strawberries, whipped cream |
| Peanut Butter and Banana | Bananas, eggs, coconut flour, peanut butter, honey |
| Nutella and Banana | Bananas, eggs, coconut flour, Nutella, nuts |
With its short list of ingredients and straightforward instructions, this 3-ingredient banana waffle recipe is truly an easy and delightful way to start your day. The resulting waffles are bound to be a hit, whether you’re enjoying them on a leisurely Saturday morning or saving them for a quick, healthy breakfast on a busy weekday.
lass="has-black-color has-text-color" style="font-size:18px;line-height:1.6">So, put on your apron, fire up your waffle maker, and treat yourself to the pure joy of homemade banana waffles – a true breakfast delight!FAQS about Traditional waffles
What Makes Waffles Stay Crispy?
- High Sugar Content: Sugar caramelizes when heated, giving that lovely, crispy outer layer.
- Correct Waffle Iron Temperature: Too low, and they’ll be soggy; too high, and they’ll burn. Aim for that sweet spot in the middle.
- Don’t Overcrowd: Crowding the waffle iron can lead to steam buildup, which equals soggy waffles. Give them space!
What is the Secret to Making Good Waffles?
- Quality Ingredients: Fresh, quality ingredients make a world of difference. Don’t skimp here!
- Consistency of Batter: It should be thick but pourable. Think of smooth, flowing lava.
- Proper Mixing: Overmixing leads to tough waffles. Mix until just combined for the best texture.
- Preheated Waffle Iron: This is a must. A properly heated iron ensures a crispy exterior.
Is There a Difference Between Pancake and Waffle Batter?
- Fat Content: Waffle batter usually has more fat (butter/oil) than pancake batter. This makes waffles crispier.
- Sugar Level: Waffle batter tends to have more sugar than pancake batter, aiding in caramelization and crispiness.
- Texture: Waffles are designed to be crispy outside, soft inside; pancakes aim for overall fluffiness.
Should You Let Waffle Batter Rest?
- Yes! Resting the batter for about 30 minutes allows the gluten to relax and the batter to thicken, resulting in tender, well-cooked waffles.
- Bonus Tip: Use this resting time to preheat your waffle iron.
How Do You Keep Homemade Waffles from Getting Soggy?
- Cooling Rack: Transfer cooked waffles to a cooling rack instead of stacking them. This prevents steam build-up.
- Oven Trick: Keep cooked waffles in a warm oven (about 200°F) in a single layer until ready to serve.
- Avoid Closing the Waffle Iron: Once they’re done, take them out immediately. Keeping them in the iron can create steam, leading to sogginess.
Craving more delicious recipes? Try these: Buffalo Wild Wings Potato Wedges
