Party Planning Pro-Tip: How Long Does Cake Batter Last in the Fridge?
If you’re anything like me, you love to get a head start on party planning. It’s all about making life easier, right? Well, one thing I’ve often wondered about is how long cake batter can chill in the fridge without turning into a baking disaster. Today, we’re diving into this crucial question – how long does cake batter last in the fridge? Let’s spill the (cake) batter beans!
Getting Ahead of the Game
Planning a party can be a whirlwind of activity, especially when you’re juggling a thousand things at once. That’s where the magic of prepping ahead comes in handy. And what’s a party without a delicious homemade cake? So, let’s talk about a lot of cake batters and how it can be your secret weapon.
How Long Can Cake Batter Hang in the Fridge?
The answer to this question can be a game-changer in your party prep strategy. Picture this: you’ve got a super busy week leading up to the big event, and you want to get as much done in advance as possible. Cake batter can be your ally in this quest!
So, let’s cut to the chase. How long does cake batter last in the fridge? Well, you’ll be glad to know that it can chill out in there for approximately 2 to 3 days without any major issues. That’s right, two to three days of pre-baked bliss! But, there are a few things to keep in mind to ensure your cake batter stays fresh.
The exact shelf life can vary depending on the specific ingredients used in the batter and how well it is stored.
Here are some general guidelines for storing cake batter in the fridge:
- Cover it properly: Transfer the cake batter to an airtight container or wrap it tightly with plastic wrap to prevent it from drying out or absorbing odors from the fridge. You can also use a plastic resealable bag to prevent air from escaping.
- Label and date: It’s a good practice to label the container with the date when you made the batter so you can keep track of its freshness.
- Check the ingredients: Be mindful of the expiry of milk, eggs, and other dairy products used in your batter, as they can impact the batter’s shelf life.
- Separate ingredients if possible: For best results, store wet and dry ingredients separately until you’re ready to mix them.
- Maintain a cool temperature: Store the batter in the coldest part of your fridge, usually near the back. Keep it away from raw meats and other foods with strong odors.
- Check for signs of spoilage: When cake batter starts to spoil, it’s essential to recognize the signs to ensure that the resulting cake is safe to consume and of good quality. Here are some common signs of spoilage to look for in cake batter:
- Unpleasant Odor: Spoiled cake batter may emit a sour, off, or rancid odor. If you notice any unusual or unpleasant smells, it’s a clear indication that the batter has gone bad.
- Change in Color: Cake batter should maintain its original color or develop the desired color associated with the recipe (e.g., red velvet cake batter should remain red). If you see any significant changes in color, such as browning or discoloration, it can be a sign of spoilage.
- Texture Changes: Fresh cake batter typically has a smooth and consistent texture. Spoiled batter may become lumpy, separated, or grainy. Any noticeable changes in texture should raise a red flag.
- Unusual Growth: If you observe mold, unusual spots, or any foreign growth on the surface of the batter, it’s a clear sign of spoilage. Do not use the batter if you see any of these signs.
- Gas Production: Some cake batters may produce gas due to the leavening agents (baking powder or baking soda) reacting with other ingredients. While this is normal, excessive gas production can indicate spoilage or over-fermentation.
- Off Taste: If you taste the batter and notice an unpleasant or sour flavor that is not characteristic of the cake recipe, it’s a sure sign that the batter has spoiled.
- Separation: When ingredients in the batter separate, it can indicate spoilage. For example, if the oil or fats separate from the rest of the batter, it may not be safe to use.
- Excessive Bubbling: While some bubbling is normal as a result of leavening agents, if the batter is excessively foamy or you see air bubbles without any mixing, it could be a sign of spoilage.
Remember that cake batter is a perishable food item, and the signs of spoilage may vary depending on the specific ingredients used and the storage conditions. If you ever have doubts about the freshness or safety of your cake batter, it’s better to err on the side of caution and discard it to prevent any potential foodborne illnesses or disappointing baking results.
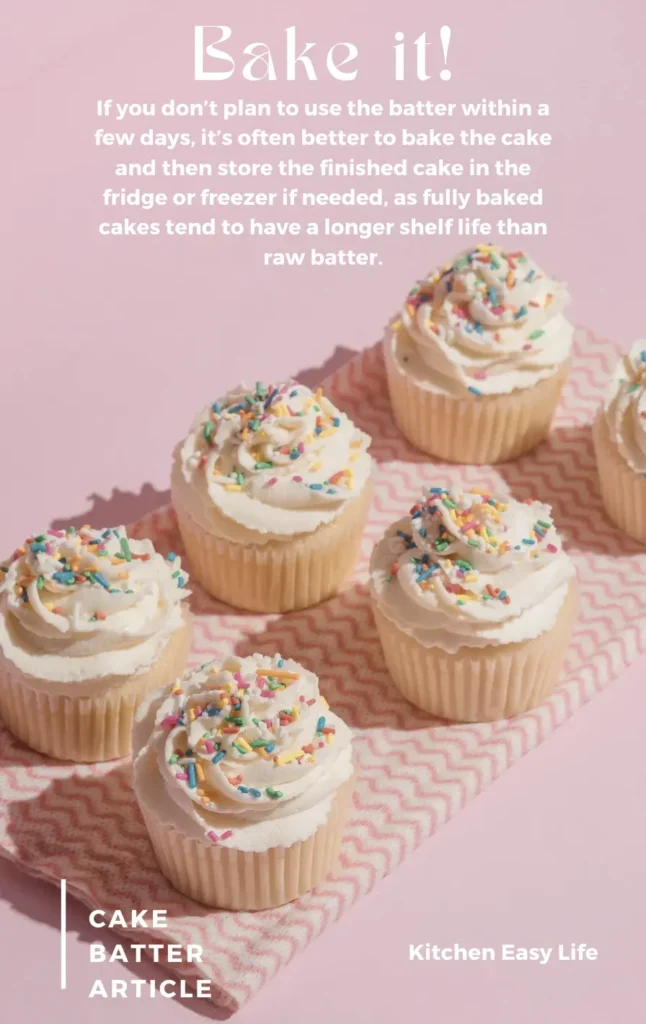
Keep in mind that some cake batters, particularly those containing dairy products like milk or eggs, may not last as long as others. If you don’t plan to use the batter within a few days, it’s often better to bake the cake and then store the finished cake in the fridge or freezer if needed, as fully baked cakes tend to have a longer shelf life than raw batter.
Photo Credit: Joanna Lopez
Different types of cake batters can indeed have varying shelf lives, and understanding how to store them properly is crucial for getting the best results. Let’s dive into the specifics of extending freshness and storing different cake batters, including red velvet cake, pound cake, cookie dough, quick bread, and oil-based cake batter:
Red Velvet Cake Batter:
Red velvet cake batter is a unique type with its rich cocoa flavor and vibrant color. To keep it fresh for a longer time, store it in an airtight container in the fridge. Its shelf life is similar to regular cake batter, about 2 to 3 days. For the best results, add the leavening agents (usually baking powder and baking soda) just before baking to maximize their effectiveness.
Pound Cake Batter:
Pound cake batter is known for its dense and buttery texture. Leftover batter can be refrigerated for a couple of days, but it’s essential to keep it covered in an airtight container or wrap it tightly in plastic. Pound cake batter can also be frozen for an extended period. Portion it into freezer ziplock bags and label them for later use.
Cookie Dough:
Cookie dough is a versatile treat, but when it comes to leftover batter, it’s a good idea to portion it into cookie-sized portions and freeze them. Place these portions on a baking tray, let them freeze until solid, and then transfer them to a resealable bag. This way, you can enjoy freshly baked cookies anytime. Cookie dough can last in the freezer for several months.
Quick Bread Batter:
Quick bread batter, like banana bread or zucchini bread, can be stored in the fridge for up to 3 days in an airtight container. However, it’s typically not recommended to freeze quick bread batter as it may affect the texture and rising ability. For the best quality, bake quick bread as soon as possible.
Oil-Based Cake Batter:
Oil-based cake batter, such as carrot cake or some chocolate cakes, can have a longer shelf life than batter with dairy products. The oil helps preserve it for a more extended period. Store it in an airtight container in the fridge for up to 3 days. If you need to keep it longer, freezing is your best option. Seal it in a freezer bag and remove as much air as possible to prevent freezer burn.
And, speaking of different batters, let’s briefly check out different types of flours that may be used in your baked goods:
| Flour Type | Protein Content | Best Used For | Gluten Content |
|---|---|---|---|
| All-Purpose | Medium | General baking | Medium |
| Bread Flour | High | Breads, pizza dough | High |
| Cake Flour | Low | Cakes, delicate bakes | Low |
| Whole Wheat | High | Hearty, healthy bakes | High |
| Gluten-Free | Varies | Gluten-free recipes | None |
What if my cake batter contains cream cheese or sour cream?
Cake batter that contains cream cheese or sour cream may have a shorter shelf life compared to batters without these dairy products. Cream cheese and sour cream are considered perishable ingredients, and their inclusion in the batter can make it more susceptible to spoilage if not handled and stored correctly. Here’s why:
- Dairy Products: Cream cheese and sour cream are dairy products that contain moisture and fat, which can create an environment conducive to bacterial growth when left at warm or room temperatures for extended periods.
- Lower pH: Many cake batters containing cream cheese (e.g., cheesecake batter) or sour cream tend to have a lower pH due to the acidity of these ingredients. While this acidity can enhance the flavor and texture of the cake, it can also slow down bacterial growth to some extent. However, it doesn’t make the batter immune to spoilage.
- Moisture Content: Cream cheese and sour cream contribute moisture to the batter. Excess moisture can lead to changes in texture and an increased risk of spoilage, especially if the batter is stored for an extended period.
Remember, the shelf life of different types of cake batters can vary based on ingredients and personal preference. Proper storage methods, such as using airtight containers, freezing, and adding leavening agents just before baking, can help you enjoy the convenience of prepping ahead without compromising the deliciousness of your homemade cakes for that special occasion. So, go ahead, get creative with your cake recipes, and make the most of your leftover batter!
Always use your best judgment and follow proper food safety practices when dealing with perishable items like cake batter to ensure that it’s safe to consume.
The Fresher, the Better
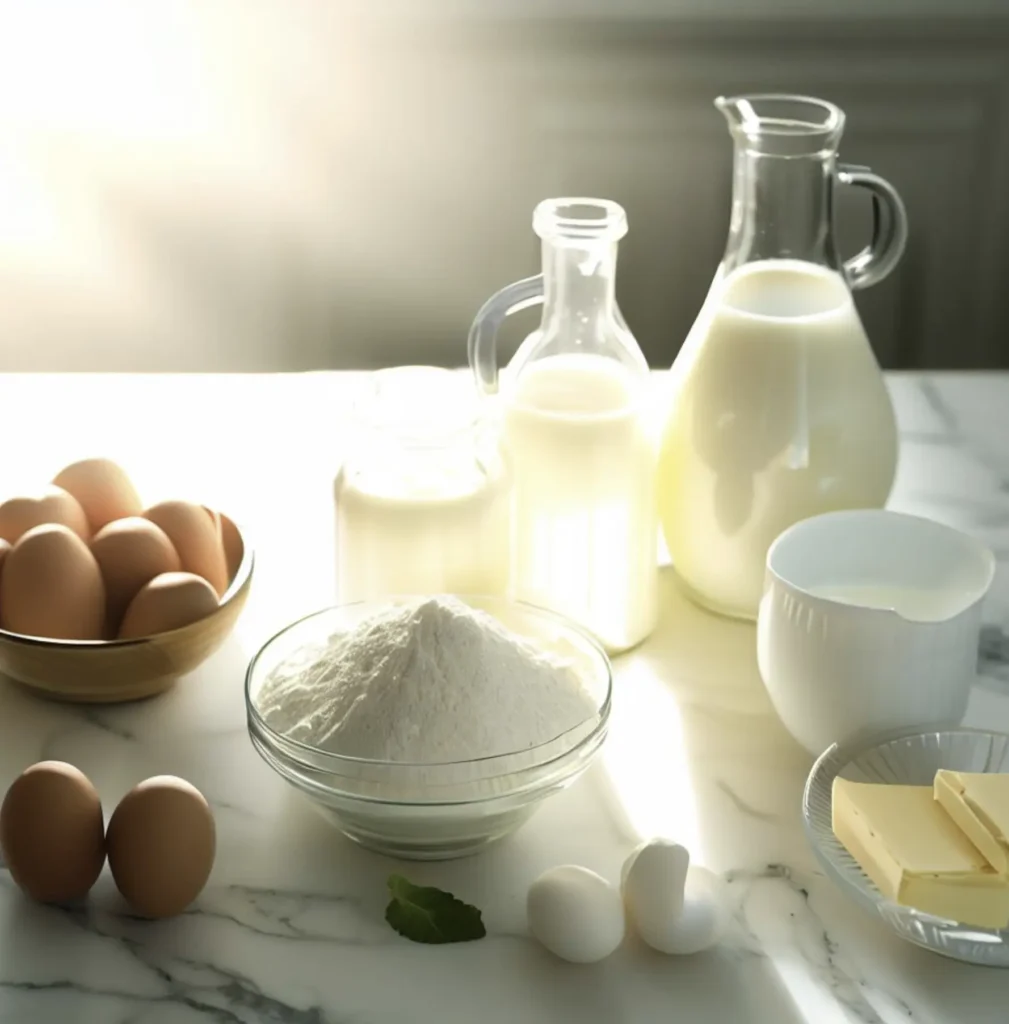
First things first, always start with fresh, high-quality ingredients. Trust me; this makes all the difference. Fresh eggs, milk, and flour are the building blocks of a fantastic cake batter.
The Divide and Conquer Approach
Now, here’s a trick for the savvy party planner: portion control. If you know you won’t be baking the entire cake right away, divide your batter into smaller containers before popping it into the fridge. This way, you only use what you need, and the rest stays pristine.
Freeze for Extended Freshness
But what if your party is still a week away? Fear not, because here’s another ace up your sleeve – freezing! Cake batter freezes like a champ. Pour it into freezer-safe containers (containers covered with wax paper or parchment paper aids in clean up later), label them with the date (because we’re organized like that), and stash them in the freezer. When the big day arrives, simply thaw the batter in the fridge, and you’re good to go.
The Final Countdown
As the party date draws nearer, you might start wondering, “Is my cake batter still good?” That’s when a quick visual and sniff test comes into play. If it looks or smells off, it’s time to say goodbye and whip up a fresh batch.
FAQS
1. Can You Refrigerate Cake Batter to Use Later?
Absolutely! Refrigerating cake batter is a fantastic time-saver. Life gets busy, right? So, if you’ve prepped your batter but the oven’s in high demand or you’re juggling a million things, the fridge is your friend. Just make sure to cover it tightly to keep it fresh and prevent any fridge odors from playing hide and seek with your batter.
2. How Long Can You Leave Batter in the Fridge?
Hold on to your whisks, because you can store that yummy cake batter in the fridge for up to 48 hours. But here’s the kicker – the leavening agents (like baking powder or soda) start losing their oomph after being mixed. So, the sooner you bake, the fluffier your cake. I’d suggest aiming for within 24 hours for that perfect rise.
3. Will Storing My Cake Batter in the Refrigerator Overnight Ruin My Cake?
Fear not, midnight bakers! Storing your cake batter in the fridge overnight won’t ruin your cake. In fact, it can actually help some flavors to develop more fully. But remember, our friend the leavening agent might get a bit lazy if left too long. So, while it won’t ruin the cake, it might not be as perky as a freshly mixed batter.
4. Can You Refrigerate or Freeze Cake Batter?
Here’s the scoop: Refrigerating? Yes. Freezing? Well, it’s tricky. Freezing cake batter can be a gamble. The texture might change, and the leavening agents may throw a bit of a tantrum after thawing. If you’re in a pinch, you can try it, but for best results, stick to refrigerating.
5. Why Do You Have to Rest Cake Batter?
Here’s a little baking science for you: Resting the batter allows the flour to hydrate fully and gives the gluten a little break. This can lead to a more tender crumb and a better texture. Plus, for some recipes, it allows the flavors to mingle and get to know each other better. Think of it as a little party in your mixing bowl!
With this knowledge in your pocket, you can conquer party planning like a pro, impress your guests with delicious homemade cakes, and enjoy a little extra time to kick back and relax before the big event.
And, speaking of parties, you’ll definitely want to serve this amazing vanilla cake!
Favorite gourmet vanilla cake
Course: DessertCuisine: AmericanDifficulty: Medium10
servings1
hour30
minutesThis gourmet vanilla cake with homemade vanilla buttercream frosting is perfect for special occasions or when you want to treat yourself and your loved ones to a delightful dessert. It’s a classic that never goes out of style!
Ingredients
For the Vanilla Cake:
2 1/2 cups all-purpose flour
2 1/2 tsp baking powder
1/2 tsp baking soda
1/2 tsp salt
1 cup unsalted butter, softened
2 cups granulated sugar
4 large eggs
2 tsp pure vanilla extract
1 cup whole milk
For the Vanilla Buttercream Frosting:
1 1/2 cups unsalted butter, softened
4 cups powdered sugar (confectioners’ sugar)
2 tsp pure vanilla extract
2-3 tbsp heavy cream or milk
A pinch of salt
Directions
- For the Vanilla Cake:
- Preheat your oven to 350°F (175°C). Grease and flour two 9-inch round cake pans and line the bottoms with parchment paper for easy removal.
- In a mixing bowl, whisk together the flour, baking powder, baking soda, and salt. Set aside.
- In a large mixing bowl, using an electric mixer or a stand mixer fitted with a paddle attachment, cream the softened butter and granulated sugar together until light and fluffy, about 2-3 minutes.
- Add the eggs one at a time, beating well after each addition. Mix in the vanilla extract.
- Gradually add the dry ingredients to the wet mixture, alternating with the milk, beginning and ending with the dry ingredients. Mix until just combined. Be careful not to overmix; stop as soon as the ingredients are incorporated.
- Divide the cake batter evenly between the prepared cake pans and smooth the tops.
- Bake in the preheated oven for 25-30 minutes, or until a toothpick inserted into the center comes out clean. The cakes should be lightly golden and spring back when touched.
- Remove the cakes from the oven and let them cool in the pans for about 10 minutes. Then, turn them out onto a wire rack to cool completely.
- For the Vanilla Buttercream Frosting:
- In a large mixing bowl, using an electric mixer or a stand mixer fitted with a paddle attachment, beat the softened butter on high speed until creamy and smooth, about 2-3 minutes.
- Gradually add the powdered sugar, one cup at a time, and continue beating until well combined.
- Add the vanilla extract and a pinch of salt, then mix until incorporated.
- Add 2-3 tablespoons of heavy cream or milk and beat on high speed for an additional 2-3 minutes until the frosting is light and fluffy. Adjust the consistency by adding more cream/milk if needed.
- Assembly:
- Once the cakes are completely cool, place one layer on a serving plate or cake stand.
- Spread a generous layer of vanilla buttercream frosting evenly over the top of the first cake layer.
- Carefully place the second cake layer on top.
- Frost the top and sides of the cake with the remaining vanilla buttercream, creating a beautifully smooth or textured finish, depending on your preference.
- Slice and serve your gourmet vanilla cake, and enjoy!
Notes
- Optional: Decorate the cake with additional frosting, edible flowers, or other decorations of your choice.
