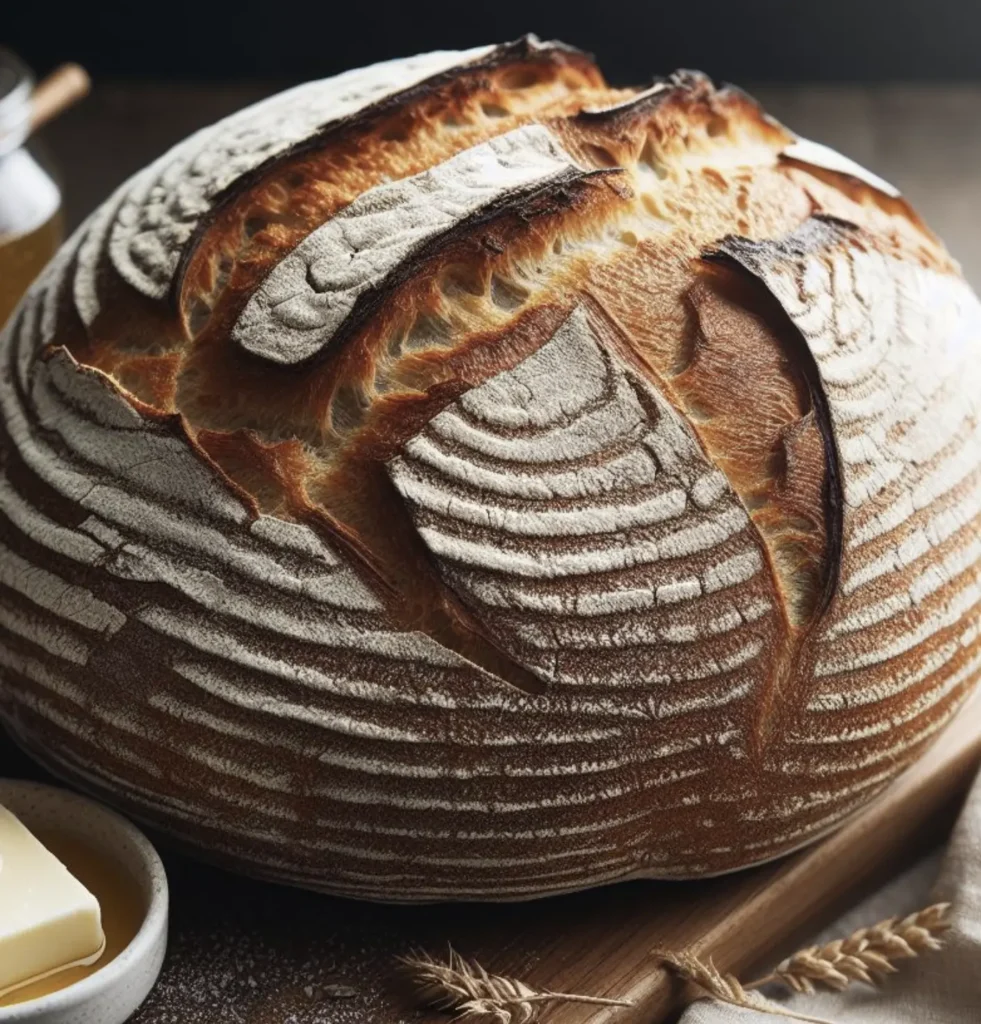
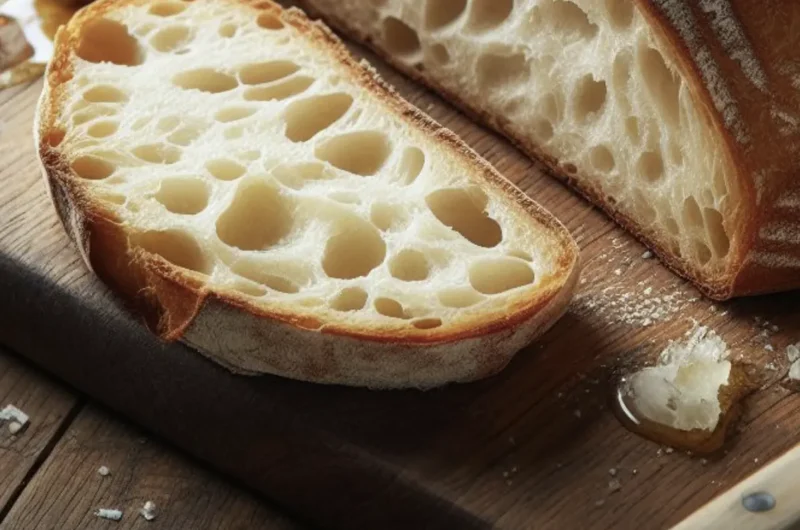
The Sourdough Sensation
Who doesn’t love the smell and taste of a freshly baked sourdough loaf? Sourdough bread, with its distinctive taste and texture, has captivated the hearts (and taste buds!) of many. Understanding how to tell if sourdough bread is bad is important for chefs and home cooks alike.
Get ready to learn what makes sourdough special, how to spot when it’s past its prime, and the best ways to store it to extend its life. Plus, we’ve got a stellar San Francisco style sourdough bread recipe that you’ll want to keep in your back pocket!
Unraveling Sourdough’s Unique Character
I think we can all agree that Sourdough is distinct from other types of bread. This is mostly due to its fermentation process. Instead of commercial yeast, sourdough relies on a combination of wild yeast and lactic acid bacteria.
These microorganisms are responsible for not only the bread’s signature tangy flavor but also its nutritional profile. This natural leavening process makes sourdough a healthier option for many, as it can aid in digestion and even reduce the bread’s glycemic index.
The fermentation process in sourdough also impacts its texture and shelf life. The acetic acid produced during fermentation acts as a natural preservative, giving sourdough a longer shelf life compared to other homemade bread! Yay!
Plus, the interaction between the acids and the starch molecules in the flour results in a chewy texture and a crust that’s crispy yet not too hard. Win win!
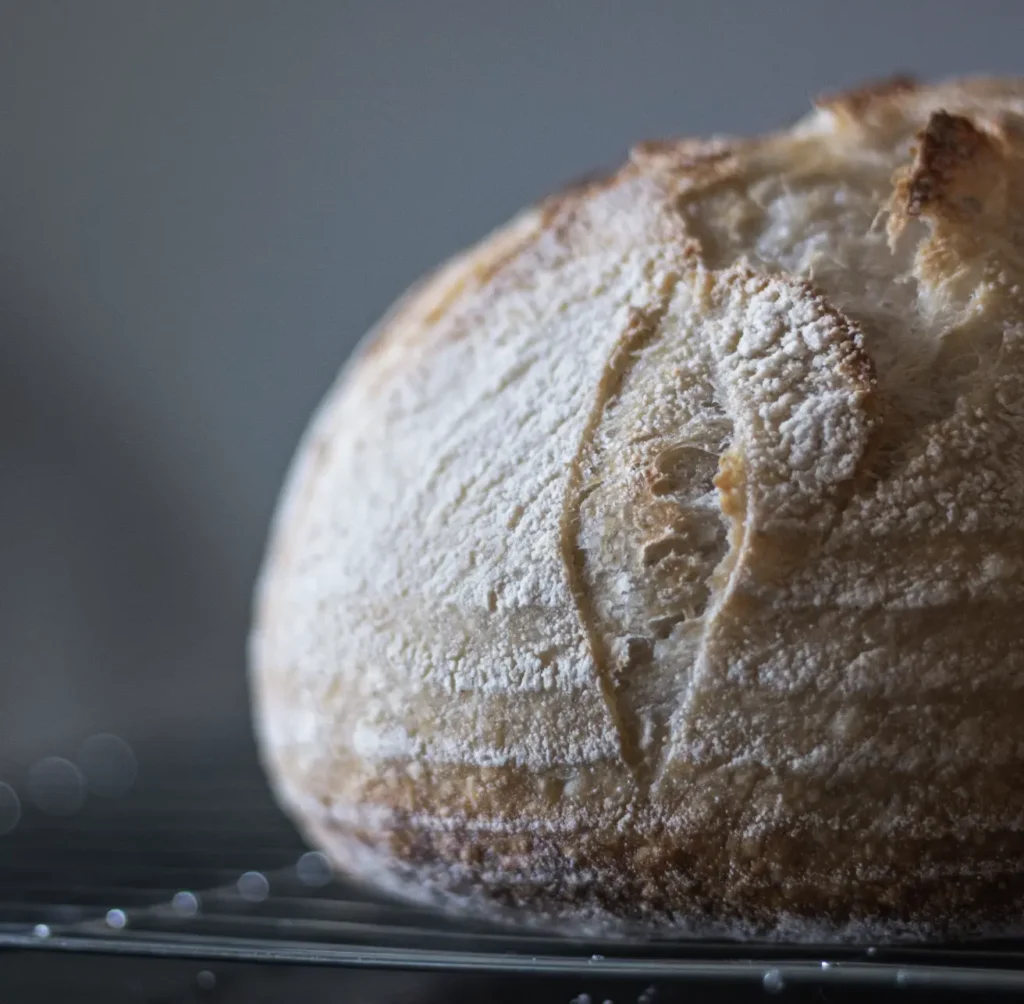
Photo Credit: Fernando Delgado
The complexity of sourdough, both in flavor and structure, is what sets it apart from other types of bread.
How to Tell if Sourdough Bread is Bad – What Impacts Sourdough’s Shelf Life
Eventhough sourdough bread has a longer shelf life, it seems that I’m always out of sourdough when I need it! Several factors influence how long a loaf of sourdough bread stays fresh. A focus on freshness can reduce the number of times you find yourself determining how to tell if sourdough bread is bad.
The type of flour used can make a difference. For instance, bread made with whole grain flour tends to have a shorter shelf life than that made with white flour due to the higher oil content in whole grains.
Your climate also plays a critical role. A dry environment can speed up the staling process, known as starch retrogradation, where the starch molecules in the bread reorganize and harden.
Another critical factor is how the sourdough was prepared and baked. A well-maintained and healthy sourdough starter, regular feedings, and proper kneading and fermentation techniques can all contribute to a loaf with a longer shelf life.
Even the water used in the dough – whether it’s tap water or filtered – can influence the final product!
All these elements combine to determine how long your delicious sourdough bread remains fresh and enjoyable. When following these tips, you will find yourself asking how to tell if sourdough bread is bad less often.
| Aspect | Details | Tips & Tricks |
|---|---|---|
| Shelf Life | 4-5 days at room temperature | Store in a cool, dry place |
| Signs of Freshness | Slight tangy smell, firm texture | Consume within 2 days for best taste |
| Signs of Spoilage | Sour or musty smell, mold spots, slimy texture | Discard if any of these signs appear |
| Reviving Stale Sourdough | Sprinkle water and heat in oven | Works well for bread older than 3 days |
| Storage Method | Bread box or wrapped in a cloth | Avoid plastic bags to prevent moisture |
How to Tell if Sourdough Bread is Bad
No one likes stale or moldy bread! When determining how to tell if sourdough bread is bad, start by inspecting it for visible mold. Mold on bread, especially sourdough, often appears as white spots or more colorful patches and is a clear sign the bread should not be consumed. Consuming moldy sourdough bread can lead to food poisoning, so it’s essential to err on the side of caution.
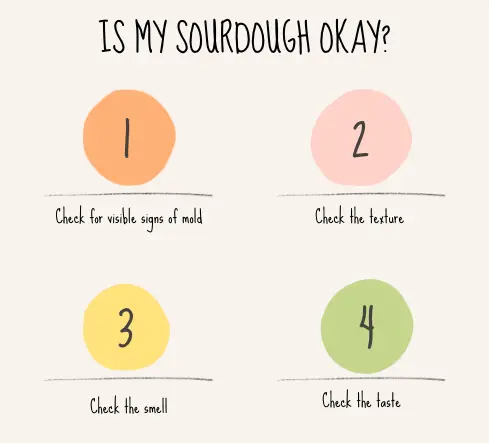
Texture and smell are also reliable indicators. Stale sourdough bread will feel hard and dry, a result of moisture loss and starch molecules realigning. While stale bread isn’t necessarily harmful to eat (hello, French toast!), it’s not as enjoyable as fresh bread. An unpleasant smell is another giveaway. If your sourdough has an off-odor, reminiscent of nail polish remover or something similarly sharp, it’s likely a sign that bad bacteria have taken over, and the bread is no longer good to eat.
Finally, pay attention to how the sourdough tastes. If there’s any hint of an unpleasant flavor or the tanginess has turned sour, it’s best to discard the bread. Remember, sourdough should have a pleasant, slightly acidic taste, but anything that makes you question its freshness is a reason to throw it out. To recap, how to tell if sourdough bread is bad, trust your senses!
The Art of Storing Sourdough
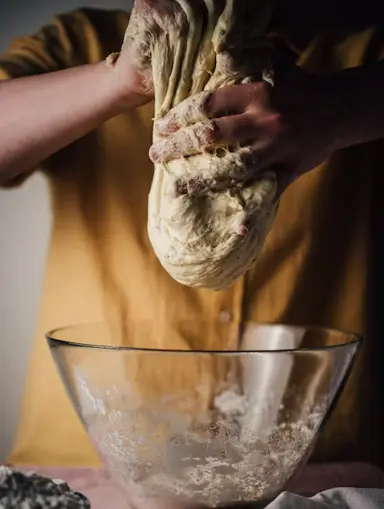
Photo Credit: Adam Bartoszewicz
Ideal Storage Conditions for Sourdough
Storing sourdough bread the right way can significantly prolong its freshness. Unlike other types of bread, sourdough retains its quality best when kept at room temperature. Storing it in a cool place, away from direct sunlight and moisture, helps maintain its crust’s crispness and interior softness. However, if you notice your loaf of sourdough bread turning into stale sourdough bread, it’s a sign that the storage conditions might need tweaking.
Containers and Wraps: What Works Best
When it comes to the best way to store your delicious sourdough bread, opinions vary. Some sourdough bakers swear by a cotton bread bag or a beeswax wrap, which allows the bread to breathe and minimizes the risk of mold growth.
Some people store sourdough in a plastic bag, but that is not advised. The plastic can trap moisture and quicken the appearance of mold. Same with air-tight containers. A general rule is to avoid air-tight containers, as they can make the crust soggy.
I usually just keep my sourdough on a plate covered loosely with a clean kitchen towel. It can last up to 3 or 4 days like this if uncut. If it’s cut, place the cut side down on the plate. Cut sourdough lasts 1-2 days.
Freezing Sourdough: Pros and Cons
For those wondering how to tell if sourdough bread is bad when it’s been frozen, it’s quite simple: check for signs of freezer burn or an unpleasant smell.
Freezing is an excellent option for extending the shelf life of sourdough bread, especially if you’ve baked or bought in bulk.
Slice the bread before freezing, so you can thaw only what you need. To defrost, leave it at room temperature or pop it straight into the oven.
Remember, though, that freezing can slightly alter the texture of the bread, so it might not be exactly like fresh bread once thawed.
A Bite of History: The Timeless Journey of Sourdough
The Origins and Evolution of Sourdough Bread
Sourdough has a long history, dating back to ancient civilizations. It was likely discovered by accident when bread dough was left out and captured wild yeast from the environment. This natural leavening agent, along with lactic acid bacteria, gives sourdough its distinctive tang and texture.
Sourdough’s Cultural Significance Across Civilizations
Throughout history, sourdough has been a staple in many cultures. Its ability to rise without commercial yeast made it an essential food item, especially in areas where yeast was not readily available.
TDid you know the gold miners during the California Gold Rush were nicknamed “sourdoughs” because of their reliance on this type of bread?
Different cultures have adopted their own sourdough techniques, using various types of flour like whole grain flour and rye flour, reflecting the adaptability and resilience of sourdough recipes.
The Starter: The Heart of Sourdough Bread
What is a Sourdough Starter?
A sourdough starter is the lifeblood of authentic sourdough bread. It’s a mixture of flour and water that captures wild yeast and lactic acid bacteria from the environment. This living culture is what ferments the bread dough, giving sourdough its distinctive taste and texture.
A healthy sourdough starter is characterized by regular signs of activity, such as bubbling and rising, indicating it’s ready to leaven bread. The starter’s health is crucial; a bad sourdough starter can lead to moldy sourdough bread or bread that doesn’t rise properly.
How the Starter Affects Bread’s Flavor and Texture
The starter’s composition, including the type of flour and water used, significantly influences the flavor and texture of your sourdough loaf. Using whole grain flour, for example, will result in a more robust flavor compared to white flour.
The starter’s maturity also plays a role. A mature starter, regularly fed and well-maintained, imparts a complex flavor profile to the bread, blending sour notes from acetic acid with milder, yogurt-like flavors from lactic acid bacteria.
The fermentation process also affects the texture, creating a chewy crumb and a crispy crust.
The Science of Maintaining a Healthy Starter
Maintaining a healthy sourdough starter is something that could take a few tries to “master.”
It requires regular feedings with fresh flour and water.
The right temperature is crucial; a warmer spot will accelerate fermentation, while a cooler place slows it down.
The float test is a simple way to check if your starter is ready for baking: drop a spoonful in water, and if it floats, it’s good to go.
It’s also important to watch for signs of mold or unpleasant odor, which indicate a bad sourdough starter.
Regularly discarding a portion of your starter and replenishing it with fresh flour and water ensures it remains active and healthy.
Crafting an Authentic Sourdough Starter at Home
Step-by-Step Guide to Making a Sourdough Starter
Making a sourdough starter at home is a simple yet fascinating process that captures wild yeast and bacteria to naturally leaven bread.
To begin, mix equal parts of whole grain flour (such as rye or whole wheat) and water in a clean jar; this can be about 1/2 cup of each. The whole grains are rich in nutrients and more effective at initially capturing yeast.
Stir the mixture well and loosely cover it with a cloth or a lid, allowing it to sit in a warm spot (around 70-75°F is ideal).
Each day for the next week, you’ll need to ‘feed’ the starter: remove and discard about half of the mixture, then add fresh flour and water (again, in equal parts). As the days progress, the mixture will start bubbling and expanding, indicating the growth of yeast and beneficial bacteria.
The starter is ready when it reliably doubles in size a few hours after feeding, showing it’s active and ready to leaven bread dough. This process, capturing and nurturing wild yeast, is what gives homemade sourdough bread its unique flavor and texture.
Common Pitfalls in Starter Preparation and How to Avoid Them
One of the common mistakes when making a new starter is using chlorinated tap water, which can hinder yeast growth. Always use filtered or bottled water.
Another issue is using the wrong kind of flour; unbleached, whole grain flours work best.
Additionally, inconsistency in feeding can lead to a weak or bad sourdough starter. Regular feedings, at least once a day, are crucial for developing a strong, active starter.
Also, be patient – it can take up to a week or more for a new starter to show signs of robust activity.
Knowing When Your Starter is Ready for Baking
Determining when your starter is ready for baking involves observing its consistency and activity level.
A healthy starter should double in size within 4 to 6 hours of feeding and have a bubbly, frothy appearance.
The float test is a reliable method to check readiness: a small amount of starter should float in water if it’s active. If your starter passes this test, it’s ready to be used in making delicious sourdough bread!
Selecting the Best Ingredients for Your Sourdough
Choosing the Right Flour For sourdough lovers, the choice of flour can make or break the loaf.
Opting for high-quality organic bread flour is the best way to ensure a robust sourdough loaf with a delightful texture.
Bread flour, with its higher protein content compared to all-purpose flour, aids in the development of gluten, giving your sourdough the necessary strength and elasticity.
Whole grain flours like whole wheat or rye add a depth of flavor and nutritional value, but they can be tricky for beginners due to their dense nature. Mixing different types of flour can also be fun! The combination of white flour and whole grain flour often balances flavor and texture beautifully.
Water: The Unsung Hero Water might seem like a basic ingredient, but in sourdough bread, it plays a crucial role in the fermentation process of your sourdough bread.
Chlorinated tap water can inhibit the growth of these beneficial microbes, so it’s a good idea to let tap water sit out for a while or use filtered water.
The temperature of the water is also key; lukewarm water is ideal as it encourages active fermentation without killing the yeast.
Salt and Beyond Salt does more than just flavor your sourdough; it regulates the fermentation process by controlling the activity of yeast and bacteria.
A general rule is to use about 2% of salt relative to the flour’s weight.
Beyond the basics, adding ingredients like seeds, nuts, or dried fruits can elevate your homemade sourdough bread, making it truly unique. Although experimenting with different ingredients can be fun, remember, the best sourdough bread often shines with simplicity!
Knead to Know: Avoiding Common Sourdough Faux Pas
Mixing Mishaps Mixing is the first step where things can go wrong.
Overmixing can lead to an overly tough bread dough, while undermixing might result in inadequate gluten development. It’s important to find a balance, making sure all the ingredients are well incorporated without overworking the dough.
Also, remember that the amount of water in your bread recipe is important. Too much water can make your dough unmanageably sticky, while too little can prevent proper fermentation.
Proofing Pitfalls The proofing stage is where patience is key. Rushing this process can lead to underdeveloped flavors, while over-proofing can cause the dough to collapse.
Room temperature plays a significant role here; a cooler environment slows down the fermentation, sometimes beneficial for flavor development.
Regular feedings of your active starter ensure a robust leavening agent for your bread.
If you skip the float test, you may not achieve a perfect dough. The float test – dropping a bit of starter in water to see if it floats – is a handy, and necessary, way to check if your starter is ready!
Baking Blunders When it comes to baking, you have to have accurate temperature and timing.
An oven that’s not hot enough won’t give your bread the needed oven spring, leading to a dense loaf. On the other hand, too high a temperature can cause the outside to burn before the inside is fully baked.
A common mistake is not preheating the oven long enough, especially if you’re using a baking stone or Dutch oven. Preheat for longer than you normally would.
Another tip for sourdough bakers is to avoid slicing into your loaf too soon; letting the bread cool completely allows the crumb structure to set properly. Patience people!
The Sourdough Saga Continues
To those just starting out on their sourdough journey, remember that practice makes perfect. I’ve made many loaves that didn’t turn out quite right, but I count them not as mistakes, but as learning moments.
Whether you’re dealing with a loaf that didn’t rise as much as you’d hoped or figuring out how to tell if sourdough bread is bad, every experience enriches your baking skills.
Embrace the mistakes, celebrate the successes, and always keep experimenting.
FAQS
Frequently Asked Questions about Sourdough Bread
Is it OK to eat old sourdough bread?
Old sourdough bread, if it hasn’t developed mold or a sour smell, can be safe to eat. However, it’s likely to be stale and hard. A little trick for reviving it is to sprinkle some water on the crust and warm it in the oven. Voilà! It’s almost as good as fresh.
How do I know if my sourdough is still good?
Your senses are your best friends here! Look for any signs of mold (usually green or black spots). Feel for an unusual texture; if it’s slimy, it’s a no-go. Also, give it a good sniff – any off-putting or sour smells indicate it’s time to say goodbye.
What does bad sourdough smell like?
Fresh sourdough has a pleasant, slightly tangy aroma. When it goes bad, the smell can turn distinctly sour, almost like vinegar, or develop an off, musty odor. Trust your nose; if it smells off, it probably is!
How long can sourdough bread last?
Sourdough bread typically lasts longer than regular bread due to its acidic nature, which helps fend off mold. At room temperature, it can last about 4 to 5 days. If you store it in the fridge (which I don’t recommend as it dries out the bread), it can last a bit longer.
Can sourdough bread spoil?
Absolutely. Like any natural product, sourdough bread can spoil. Mold growth and a sour, unpleasant smell are clear indicators. Always inspect and smell your bread before consuming, especially if it’s been stored for a while.
Try our sourdough recipe below and share how it turned out in the comments! Be sure to check out our other delicious and easy recipes, and be sure to follow us on social media for new recipes!
San Francisco Style Sourdough Bread Recipe
Course: LunchCuisine: FrenchDifficulty: Medium8
servings40
minutes300
kcalThis sourdough bread recipe is sure to be your favorite!
Ingredients
Sourdough Bread
Ingredients:
1 cup (240 ml) active sourdough starter
1 1/2 cups (360 ml) warm water
4 cups (480 grams) bread flour
1 1/2 teaspoons salt
Sourdough Starter
Ingredients:
1 cup (120 grams) whole grain flour (rye or whole wheat)
1/2 cup (120 ml) water (room temperature)
Directions
- Sourdough Starter
- Day 1:
- Mix the whole grain flour with water in a glass or plastic container until smooth.
- Cover loosely with a cloth or plastic wrap and let it sit at room temperature (around 70°F or 21°C) for 24 hours.
- Day 2 and 3:
- Feed the starter with 1/2 cup (60 grams) of all-purpose flour and 1/4 cup (60 ml) of water. Stir well.
- Cover and let sit for another 24 hours.
- Day 4 to 7:
- By now, you should see some bubbles and a slight increase in volume, indicating activity. If not, continue feeding daily.
- Remove and discard about half of the starter. Add 1/2 cup (60 grams) of all-purpose flour and 1/4 cup (60 ml) of water to the remaining starter, mixing well.
- Repeat this process every day. By Day 7, the starter should have doubled in size within 4 to 6 hours of feeding and have a pleasantly sour, but not unpleasant, smell. This indicates it’s ready to use.
- Maintaining the Starter:
- For regular bakers, feed your starter daily. If baking less frequently, store it in the refrigerator and feed once a week.
- Sourdough Bread
- Mixing the Dough:
- In a large bowl, combine the active sourdough starter with warm water.
- Add the bread flour and salt, mixing until a rough dough forms.
- First Rise (Bulk Fermentation):
- Cover the dough and let it rise at room temperature for about 4 to 6 hours, or until it has roughly doubled in size.
- Shaping the Dough:
- Gently deflate the dough and shape it into a round loaf.
- Place the dough on a lightly floured surface or in a floured proofing basket.
- Second Rise:
- Cover and let the dough rise for another 2 to 4 hours. It should be puffy and nearly doubled in size again.
- Preheat and Bake:
- About 30 minutes before baking, preheat your oven to 450°F (230°C). Place a Dutch oven inside to heat up as well.
- Carefully transfer the dough into the preheated Dutch oven, score the top with a sharp knife to allow for expansion, and cover with the lid.
- Bake for 25 minutes with the lid on, then remove the lid and bake for another 20 to 25 minutes until the crust is golden brown and the bread sounds hollow when tapped.
- Cooling:
- Allow the bread to cool on a wire rack for at least an hour before slicing.
