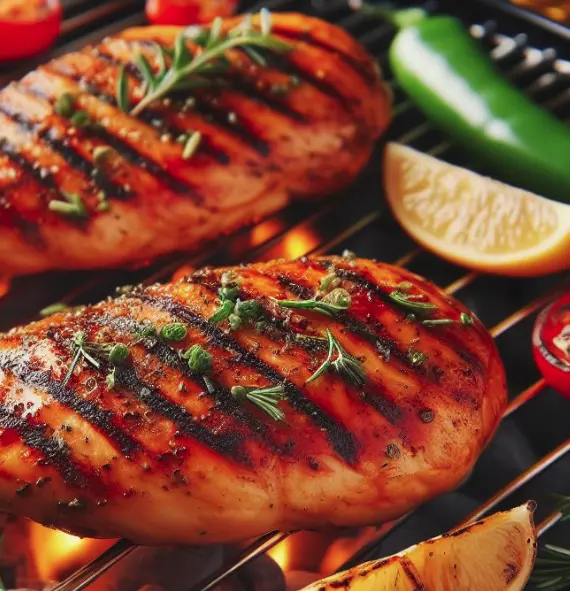
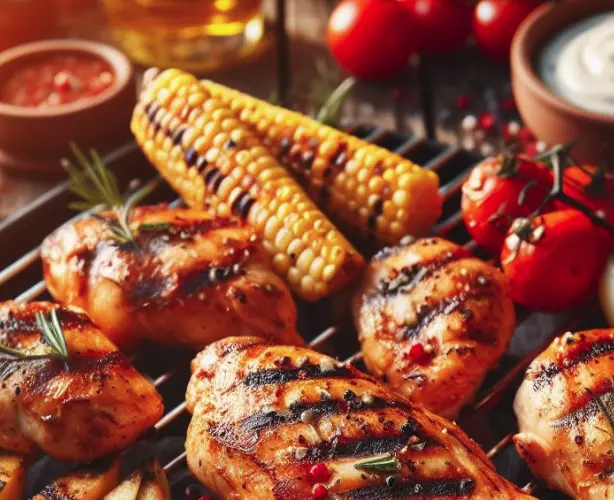
How to keep chicken from sticking to grill is a common question for the backyard cook. Grilling chicken is undoubtedly one of the most rewarding culinary adventures, offering a mouthwatering canvas for flavors and textures that can elevate any outdoor gathering. The anticipation of that sizzle and aroma as the chicken hits the hot grill is a moment of pure gastronomic joy.
However, like any culinary endeavor, grilling chicken comes with its share of challenges, and perhaps the most notorious among them is the dreaded sticking issue.
We’ve all been here: You’ve marinated your chicken to perfection, seasoned it just right, and preheated your grill to the ideal temperature. But as you attempt to flip that succulent piece of poultry, it stubbornly clings to the grill grates, leaving behind a trail of torn skin and unsightly grill marks. It’s a familiar frustration that can turn your BBQ dreams into a sticky mess. As you are rudely awakened from your BBQ dreams, you wonder how to keep chicken from sticking to grill. Lets continue!
But, fear not! In this comprehensive guide, we’re here to unveil the best-kept secrets for preventing chicken from sticking to your grill surface. We’ll arm you with invaluable insights, simple tips, and expert techniques to help you sidestep common mistakes and embark on a journey toward flawless, non-stick grilling perfection, every single time. You will be a pro on the topic of how to keep chicken from sticking to grill.
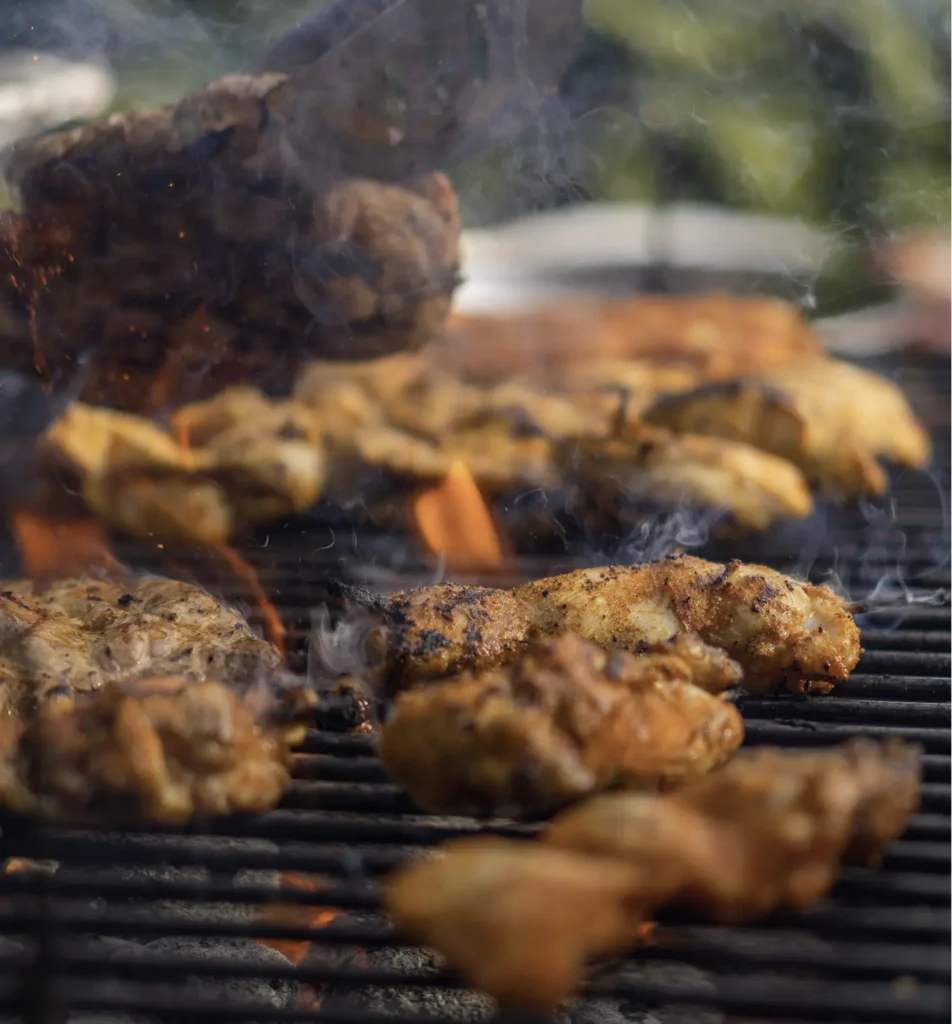
Photo Credit: Rickie-Tom Schünemann
Tip 1: Clean Your Grill Grates
Cleaning your BBQ grill is a great way to prevent sticking and ensure a successful grilling experience. A clean grill not only promotes better food hygiene but also plays a crucial role in creating a non-stick surface. Leftover food particles and grease from previous grilling sessions can accumulate on the grates, forming a stubborn layer that can make your meat adhere to the grill.
Regularly using a wire brush or grill brush to clean the grates removes this residue, allowing for better heat distribution and fewer chances of food sticking. Moreover, a clean grill ensures that your food retains its natural flavors without picking up any undesirable charred remnants from past cookouts. By making grill cleaning a part of your routine, you’re not only enhancing the quality of your BBQ dishes but also prolonging the lifespan of your grill equipment.
It’s a small effort that makes a big difference in achieving delicious, non-stick results every time you fire up the grill. Tip — I actually do this after I am done grilling the meat. While the BBQ is nice and hot with the meat removed, I use the wire brush to clean the grill so it’s ready for next time.
Tip 2: Oil the cooking surface
If your chicken sticks, then you may have missed this step. Oiling your BBQ grates is a vital step in achieving a successful grilling experience and preventing food from sticking. The importance of this simple act cannot be overstated.
When you brush a thin layer of oil, such as canola or vegetable oil, onto the grates, you create a non-stick barrier that significantly reduces the chances of your food adhering to the grill. Use a paper towel dipped in vegetable oil, canola oil, or a non-stick cooking spray to grease the grates, but be mindful to not use too much oil. This thin coating not only promotes easy flipping and release of the food but also enhances the flavor and texture of your grilled items.
Oiling the grates also helps to maintain the integrity of your chicken, which can easily fall apart or stick without proper lubrication. Overall, it’s a small yet crucial step that ensures a seamless grilling process, preserves the quality of your food, and elevates the overall grilling experience to a new level of culinary excellence.
Tip 3: Preheat Your Grill
Starting on a cold grill will simply not do. A properly preheated grill not only ensures even cooking but also helps create a non-stick surface on the grates. When grates are hot, they expand and seal off any tiny crevices or pores that might trap food particles.
This initial burst of high heat burns off any residue from previous grilling sessions, resulting in clean grates that are ready to provide the perfect sear for your food. It also encourages the formation of those appealing grill marks, which not only add visual appeal but also contribute to a flavorful, caramelized surface on your grilled items. Whether you use a gas grill or charcoal grill, don’t rush this crucial step—give your BBQ grates ample time to heat up before you begin cooking, and you’ll be well on your way to a successful, non-stick grilling adventure.
Tip 4: Oil the Chicken
I’m going to let you in on a secret. While it may be tempting to immediately throw your room temperature chicken on the grill, you need to oil it up first! Having enough oil on your chicken is a crucial step in ensuring a flavorful and non-stick grilling experience.
Before placing the chicken on the hot grill grates, it’s essential to brush a thin layer of cooking oil, such as canola or vegetable oil, onto the chicken’s surface. This not only helps to prevent the chicken from sticking to the grill but also enhances its flavor and texture. The oil creates a protective barrier between the chicken and the hot grates, reducing friction and ensuring that those appealing grill marks form effortlessly.
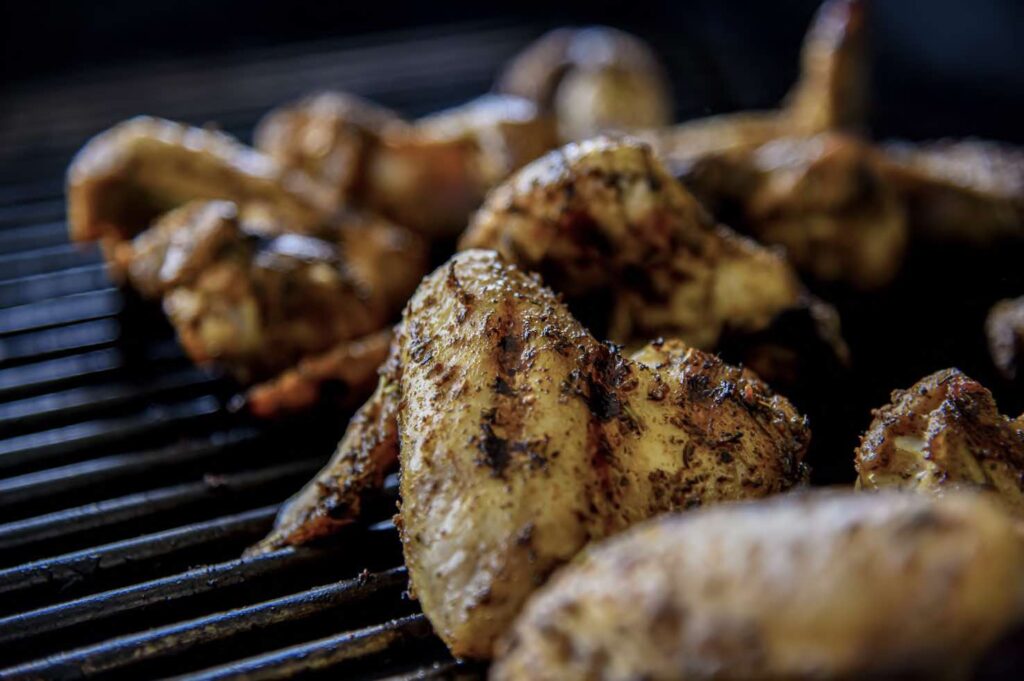
Photo Credit: Daniel Hooper
Additionally, the oil helps to seal in the chicken’s natural juices, resulting in tender, moist, and perfectly grilled chicken that’s a delight to savor. So, don’t skip this simple yet crucial step when preparing chicken for your next BBQ – it’s the secret to achieving barbecue excellence. I use mayonnaise, I know this sounds terrible, but trust me on this. Here’s the recipe!
Easy Grilled Chicken
Course: Dinner, LunchCuisine: AmericanDifficulty: Medium4
servings10
minutes10
minutesThis grilled chicken recipe combines the flavor-boosting techniques of pounding and salting with the creamy richness of mayonnaise and a kick of black pepper for a delicious and juicy grilled chicken that’s full of flavor.
Ingredients
4 boneless, skinless chicken breasts
1/2 teaspoon kosher salt (for salting the chicken the day before)
1/2 cup mayonnaise
1 tablespoon freshly ground black pepper
Olive oil for grilling
Directions
- Day Before:
- Pound and Salt the Chicken:
- Place the chicken breasts between two sheets of plastic wrap or parchment paper.
- Using a meat mallet or rolling pin, gently pound the chicken to an even thickness of about 1/2 inch. This helps the chicken cook evenly.
- Season both sides of the chicken breasts with kosher salt. Place them in an airtight container or resealable plastic bag and refrigerate overnight. Salting the chicken the day before helps to season it thoroughly and enhances flavor.
- On Grilling Day:
- Preheat the Grill:
- Preheat your grill to medium-high heat. Clean and oil the grates to prevent sticking.
- Prepare the Mayo and Pepper Coating:
- In a small bowl, mix the mayonnaise and freshly ground black pepper. Adjust the amount of pepper to your taste; you can add more for a spicier kick.
- Coat the Chicken:
- Remove the chicken breasts from the refrigerator and let them sit at room temperature for about 15 minutes.
- Coat both sides of each chicken breast with the mayo and black pepper mixture. Ensure they are well covered but not dripping with mayo.
- Grill the Chicken:
- Brush the grill grates with a little olive oil to prevent sticking.
- Place the chicken breasts on the hot grill and cook for approximately 4 minutes per side, or until the internal temperature reaches 165°F (74°C) and the chicken is cooked through. Cooking times may vary depending on the thickness of your chicken breasts.
- Avoid constantly flipping the chicken; let it cook undisturbed for the first few minutes to develop grill marks.
- Rest and Serve:
- Once cooked through, remove the chicken from the grill and let it rest for a few minutes.
- Slice, and serve hot with your favorite side dishes.
Tip 5: Maintain the Right Temperature
Fluctuating or inconsistent temperatures can lead to food sticking to the grates, resulting in uneven cooking and an overall less-than-ideal outcome. Maintaining a steady, moderate heat allows for proper searing, which helps create a natural non-stick surface on your grates. It ensures that your food cooks evenly and develops those coveted grill marks while preventing it from adhering to the grill.
Whether you’re using a gas grill or charcoal grill, carefully monitoring and regulating the temperature is the key to grilling success, allowing you to enjoy perfectly cooked and easily released grilled delights every time you fire up your barbecue.
Tip 6: Use Indirect Heat for Thicker Cuts
Indirect heat is a game-changer when it comes to reducing sticking on the BBQ, especially for larger cuts of meat. When you’re dealing with substantial pieces like whole chickens or chicken thighs, they often have more fat and collagen, making them prone to sticking and tearing when exposed to direct heat. Indirect heat involves setting up your grill so that the heat source is not directly under the meat, allowing for slower and more even cooking without the risk of sticking.
This method minimizes the chances of the meat bonding to the grill grates while still delivering that delicious smoky flavor. It’s a fantastic technique that not only prevents frustration but also ensures your larger cuts of meat come off the grill intact, beautifully seared, and ready to impress your taste buds.
Tip 7: Monitor the Internal Temperature
To ensure your chicken is perfectly cooked, invest in an instant-read meat thermometer. Chicken is safe to eat when it reaches an internal temperature of 165°F. Checking the temperature will help you avoid overcooking or undercooking your chicken.
Overcooked chicken tends to adhere to the grill grates, making it challenging to release. By using a meat thermometer to check the internal temperature, you can ensure that your food is perfectly cooked and ready to be flipped or removed from the grill at the right moment. This precision not only prevents sticking but also guarantees that your grilled dishes are safe to eat and at their peak flavor and tenderness. In essence, it’s a foolproof way to achieve grill perfection and reduce the chances of food bonding with the grates.
Tip 8: Use High-Quality Meat:
Using higher quality meat is a valuable strategy in preventing food from sticking to the BBQ. High-quality cuts of meat tend to have less moisture and connective tissue, making them less likely to adhere to the grill grates. Cheaper cuts or meats with excessive moisture can stick more readily due to their composition.
When you invest in premium cuts, you not only elevate the flavor and tenderness of your grilled dishes but also reduce the risk of frustrating sticking issues. The superior quality of the meat, combined with the proper grilling techniques, ensures that your food comes off the grill with ease, beautifully seared, and ready to be savored, without any of the common sticking mishaps that can mar your grilling experience.
Tip 9: Choose the Right Grill Tools:
Having high-quality BBQ tools is an often-overlooked but essential factor in preventing chicken from sticking to your BBQ. Quality tools, such as a sturdy spatula with a thin edge and tongs with a good grip, allow for precise and gentle handling of the chicken. They help in flipping the meat without tearing the delicate chicken skin or meat, which can lead to sticking issues.
Additionally, high-quality tools are designed to withstand high temperatures and are often easier to clean, reducing the chances of food particles accumulating on their surfaces and transferring to the chicken. So, investing in top-notch BBQ tools not only makes grilling more efficient and enjoyable but also plays a significant role in achieving those perfectly non-stick results with your chicken on the BBQ. Nothing is worse than using tools that are too short or not sturdy enough to allow you to confidently take command of your grill
Tip 10: Combine the above tips
The best way is not a single method. In order to BBQ truly amazing chicken on your gas grill, you will need to combine multiple tips.
Personally, I use these simple steps when cooking chicken on my BBQ: It’s important to have hot grates, so I start with pre-heating the grill to a high temperature, I then confirm the grill is clean, Oil the raw chicken (I use mayonnaise – I know it sounds terrible….but trust me), cook at high heat, and I take care not to turn the chicken too early. In my experience, this is the best method for how to keep chicken from sticking to grill!
using foil for cooking chicken is not recommended
I’ve seen some people put aluminum foil on their grills in hopes of preventing the chicken from sticking. However, I would NOT recommend doing this for several reasons. While using foil can be convenient for easy cleanup, it has no further benefits.
Foil can prevent the chicken from getting those coveted grill marks and the delicious smoky flavor that comes from direct contact with the grill grates. Secondly, the foil can trap moisture and steam, preventing the chicken skin from becoming crispy, and may lead to a less appealing texture. Lastly, it can interfere with even cooking as the chicken doesn’t get direct exposure to the grill’s heat source.
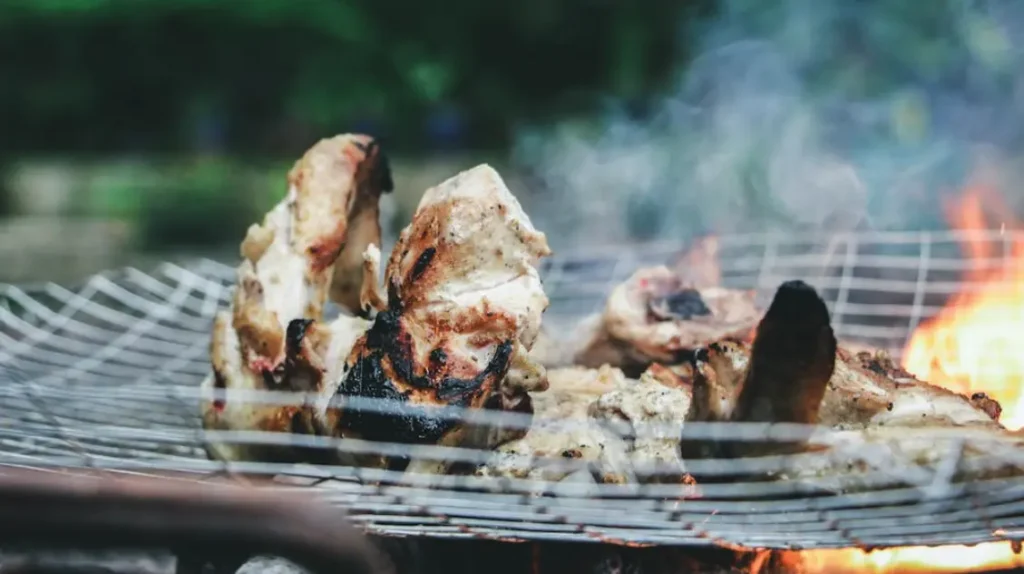
Photo Credit: Keng Leong Chooi
To achieve the best results, it’s advisable to cook chicken directly on the grates, oiling them properly to prevent sticking, and enjoying the full benefits of the BBQ experience, including that distinctive char and smoky flavor.
Grilling chicken to perfection doesn’t have to be a sticky situation. By following these easy steps and using the right techniques, you can prevent chicken from sticking to your grill, achieve beautiful grill marks, and enjoy delicious, juicy chicken every time. The art of BBQing, which includes grilling chicken, holds a special place in American culture. It’s more than just a cooking method; it’s a cherished tradition that embodies the very essence of our great nation.
A successful BBQ isn’t just about the food; it’s about creating lasting memories and strengthening the bonds that make us proud to be Americans. The sizzle of the grill, the enticing aroma wafting through the air, and the anticipation of that first bite—all of this is not just a meal but a celebration of the American spirit.
Our nation is built on a foundation of hard work, ingenuity, and the pursuit of excellence. And what better way to honor our heritage than by perfecting the art of BBQ, where every grill session is a testament to our love of freedom, our appreciation for quality, and our deep-rooted sense of community.
So, next time you fire up your BBQ grill, you’ll not only be ready to cook chicken that’s both flavorful and non-stick but also be a part of a rich cultural heritage that celebrates the joy of shared meals and good times. As you apply these proven methods to perfect your chicken grilling game, remember that it’s not just about the end result; it’s about the journey and the moments you create along the way.
Embrace the tradition, savor the flavor, and relish every moment of your BBQ experience. Remember to preheat, clean, and oil the grill, as well as the chicken itself, for the best results, and keep the spirit of American BBQ alive in your heart, for it’s a tradition that brings us all together as one proud nation, under the grill.
FAQS
1. What do you put on a grill to keep it from sticking?
Oil It Up: Before you even think about laying that chicken down, make sure your grill grates are well oiled. This creates a non-stick surface. Here’s how you do it:
- Heat the Grill: Preheat it to the temperature you’ll be cooking at.
- Oil a Paper Towel: Use an oil with a high smoke point (like canola or vegetable oil).
- Use Tongs: Grip the oiled towel with tongs and rub it over the grill grates.
Pro Tip: Oil the chicken too! A light brush of oil on the chicken helps create a barrier between the meat and the grill.
2. How do you cook chicken without it sticking?
- Preheat: Start with a hot grill.
- Oil as Advised: Remember the oiling trick? It’s crucial.
- Place the Chicken: Lay it on the grill and don’t touch it for a few minutes.
- The Flip Test: Gently try to lift a corner with tongs. If it releases easily, it’s ready to flip. If it sticks, give it a bit more time.
Remember: Moving the chicken too much can cause it to stick and tear.
| Step | Action | Key Point |
|---|---|---|
| 1 | Oil the Grill | Use high smoke point oil like canola or vegetable oil |
| 2 | Preheat the Grill | Ensure grill is at cooking temperature before placing chicken |
| 3 | Oil the Chicken | Lightly brush the chicken with oil |
| 4 | Place Chicken on Grill | Lay chicken on grill and don’t move it too soon |
| 5 | Flip Test | If chicken releases easily, it’s time to flip |
| 6 | Use Foil (Optional) | Oil the foil to prevent sticking, if using |
4. Why does chicken stick to a grill?
The Science Behind the Stick:
- Protein and Heat: When proteins (in the chicken) are exposed to heat, they undergo a chemical change, causing them to stick.
- Not Hot Enough: If the grill isn’t hot enough, the chicken doesn’t sear quickly, leading to sticking.
- Moving Too Soon: Flipping or moving the chicken before it’s ready can cause it to stick.
Fact: Achieving that perfect sear not only adds flavor but also creates a natural non-stick surface.
Craving more delicious recipes? Try these: Crispy Soy Sauce Brussel Sprouts
